First Time Users
Welcome, first time users! You’re going to be peeling back the layers of your network in just a few minutes!
First, please note that Security Onion only supports x86-64 architecture (standard Intel or AMD 64-bit processors). If you don’t have an x86-64 box available, then one option may be to run Security Onion in the cloud. For more information, please see the Amazon Cloud Image, Azure Cloud Image, and Google Cloud Image sections.
Otherwise, if you have an x86-64 box for your Security Onion IMPORT installation, then check to make sure it meets the MINIMUM hardware requirements of 4GB RAM, 2 CPU cores, and 200GB of storage. If you will be installing Security Onion in a virtual machine, then the VM will need those specs at minimum and the host machine will have higher hardware requirements since it will be running the host operating system and possibly other VMs or apps. For more information about virtualization, please see the VMware, VirtualBox, and Proxmox sections. Once you’ve verified that you have an appropriate installation target, you can proceed to download our ISO image as shown in the Download section and then install the ISO image as shown in the Installation section.
Once you have Security Onion installed either in the cloud or on-prem, you can configure for IMPORT as shown below (also see the Configuration section).
Once you’re comfortable with your IMPORT installation, then you can move on to more advanced installations as shown in the Architecture section.
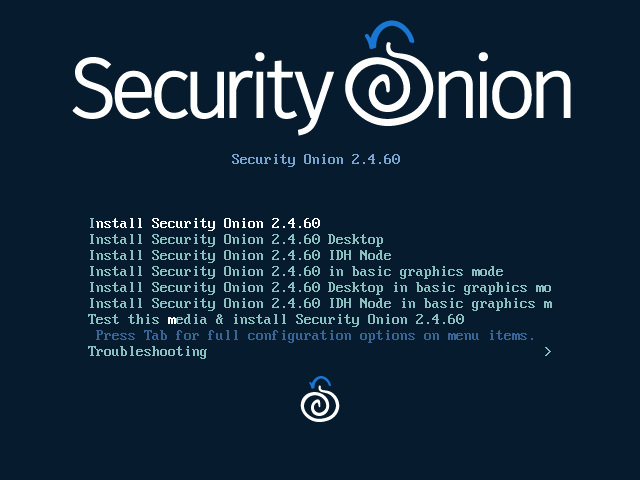
After booting the ISO image, the boot menu appears:
When prompted, enter your desired username and password:

Once installation is complete, you are prompted to reboot:

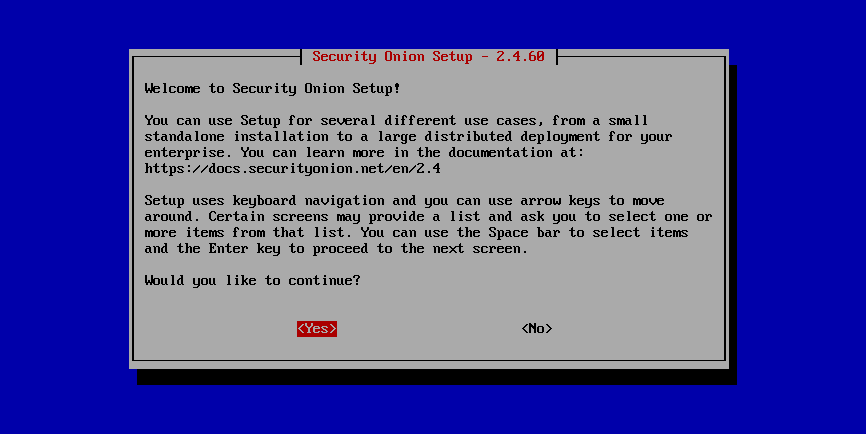
After rebooting, login using the username and password that you specified and then Setup will start automatically:
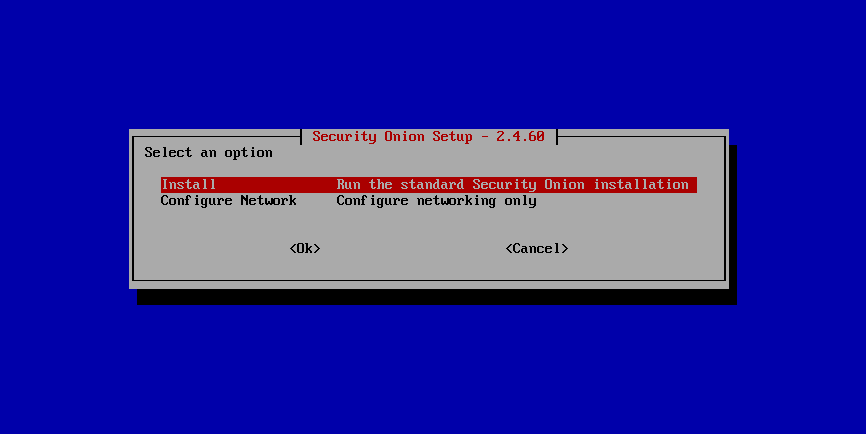
Perform a standard installation:
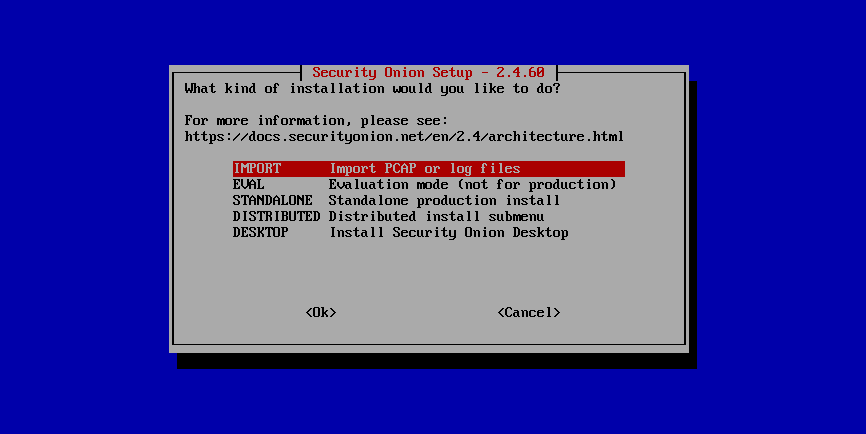
When prompted for installation type, select IMPORT:
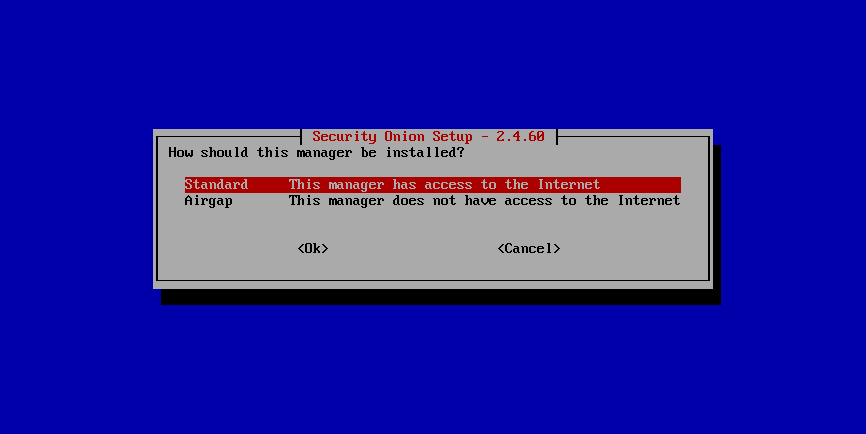
If your Security Onion machine has full Internet access as described in the Firewall section, select Standard. Otherwise, select Airgap:
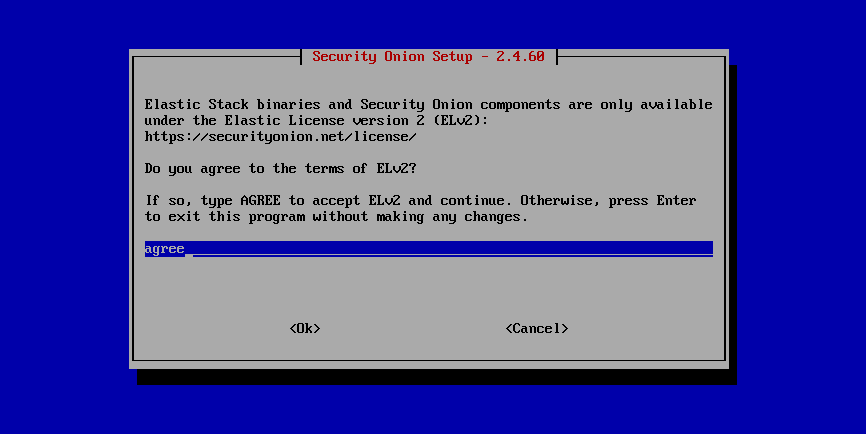
Review the license and agree:
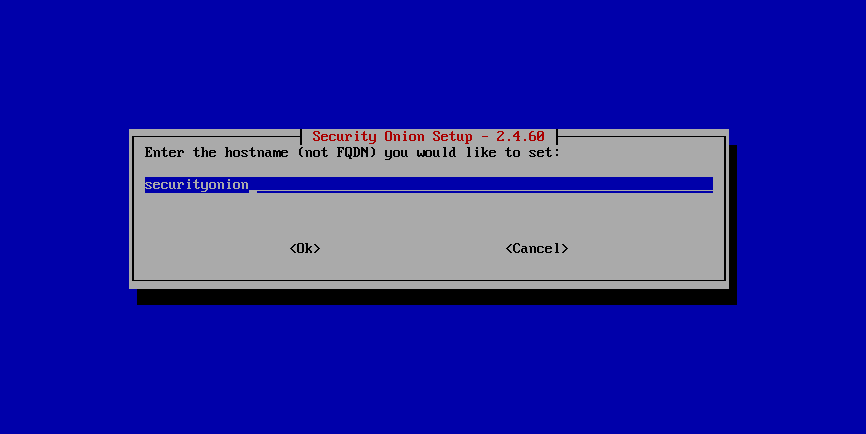
Set the hostname:
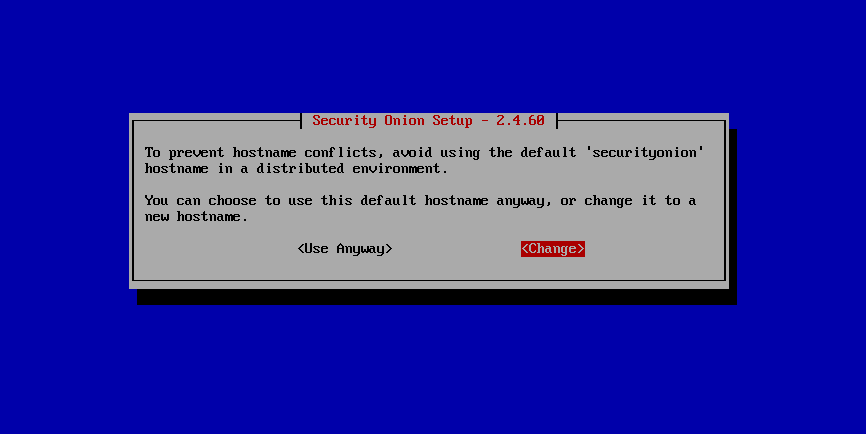
If you use the default hostname of securityonion, you will see a warning:
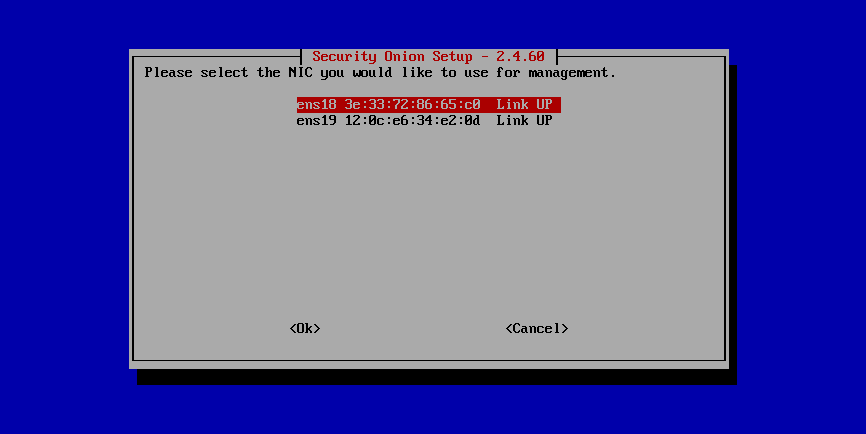
Select your management interface:
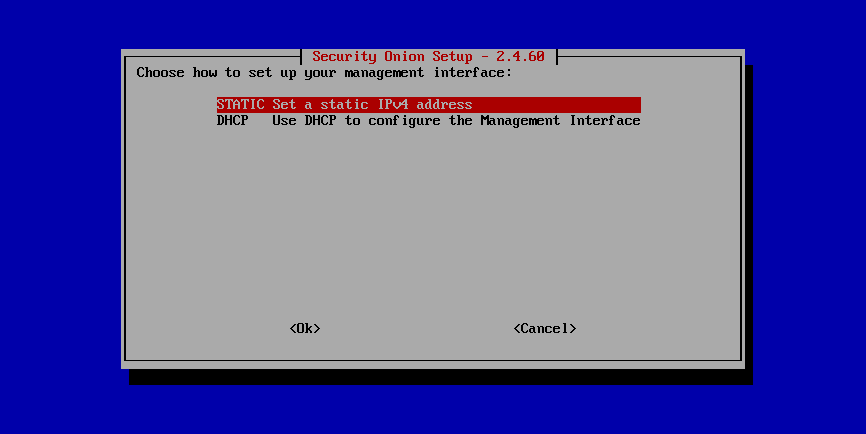
Select static IP addressing (recommended) or DHCP:
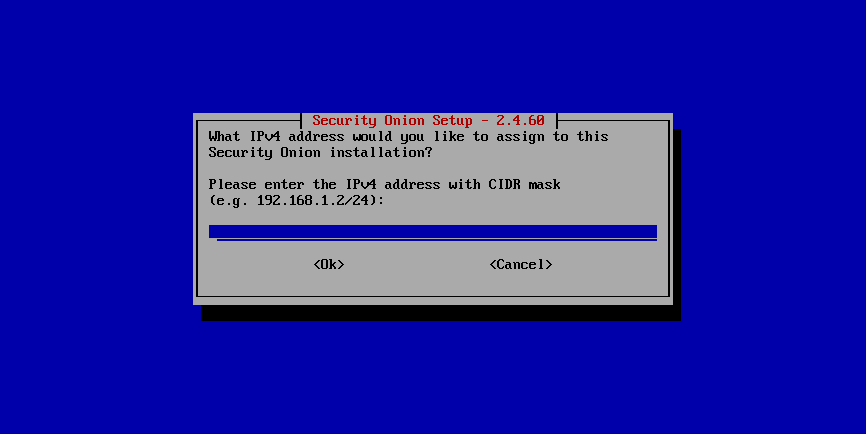
Specify IP address and CIDR mask:
Set gateway address:

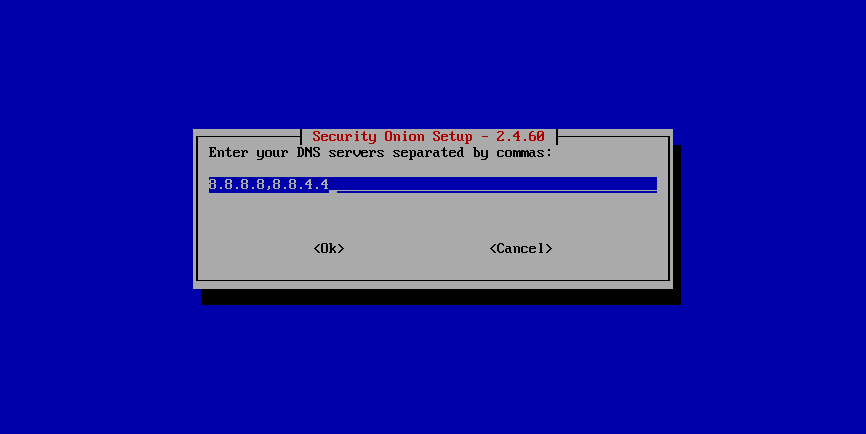
Enter DNS servers:
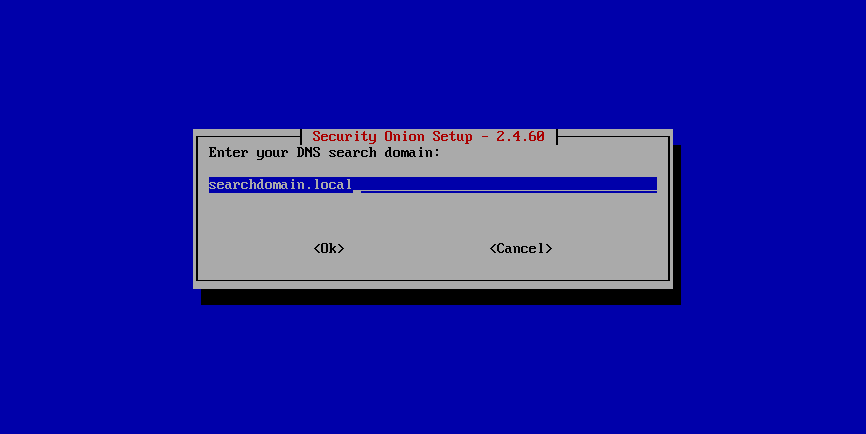
Configure DNS search domain:
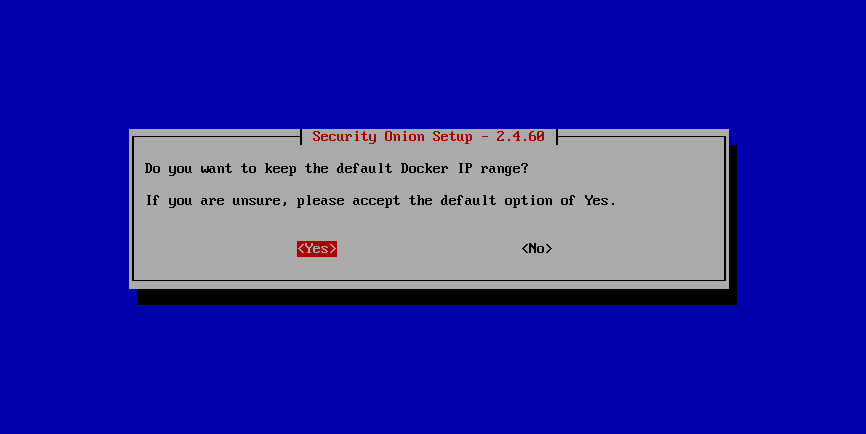
If necessary, you can change the default Docker IP range:
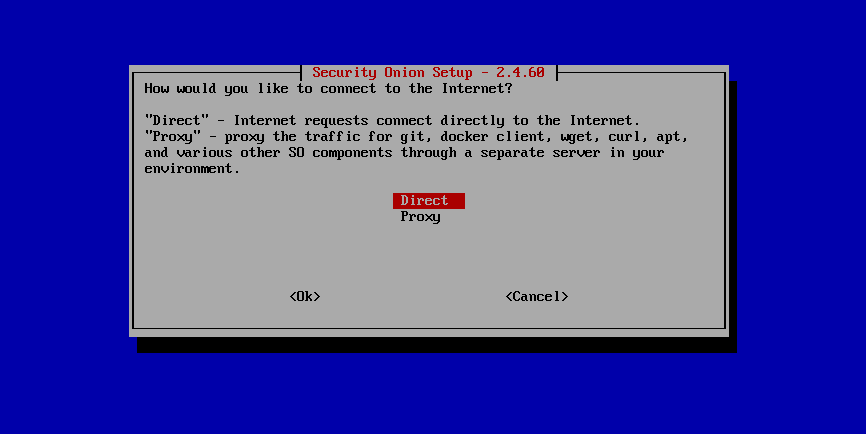
If you are connected to the Internet, select whether it is direct or via proxy:
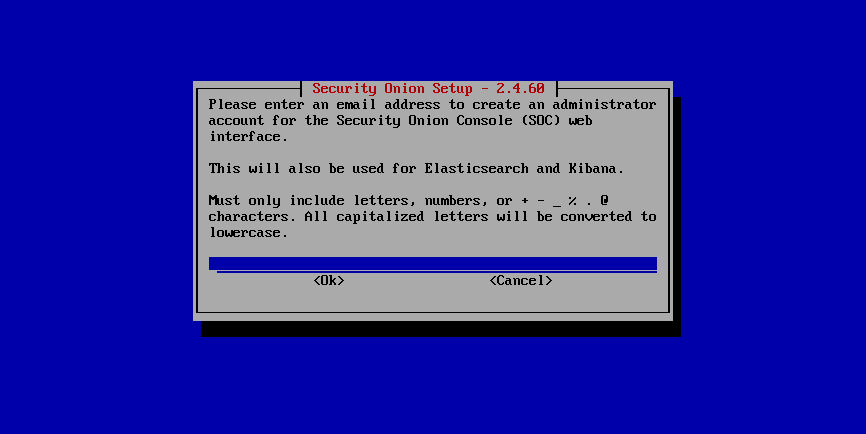
Create username for Security Onion Console (SOC):
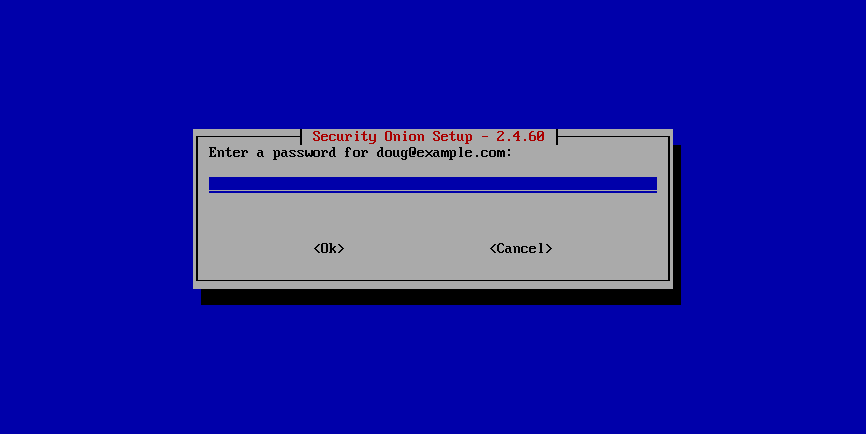
Set password for Security Onion Console (SOC):
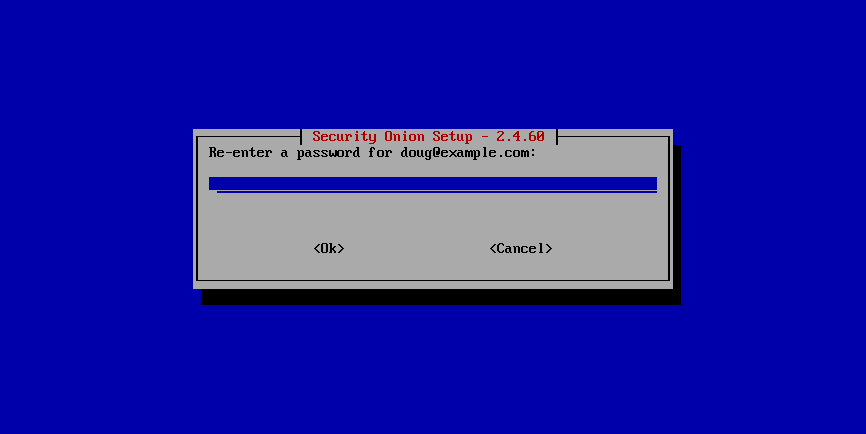
Confirm password for Security Onion Console (SOC):
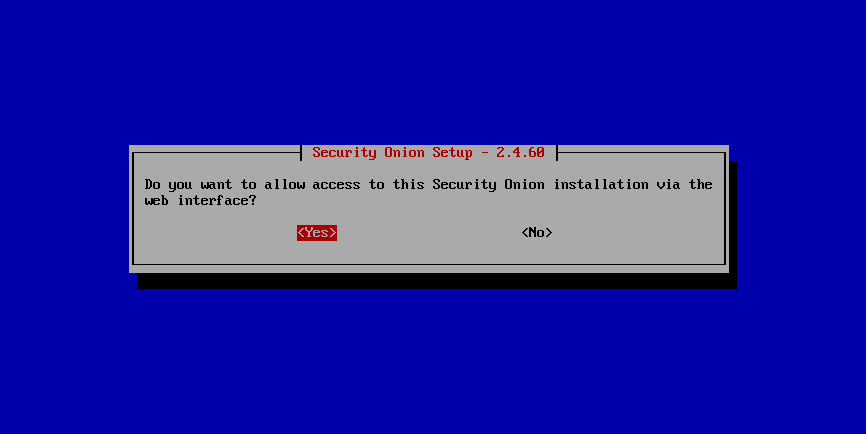
Select how to access Security Onion Console (SOC):

Allow connections through the host-based firewall if necessary:
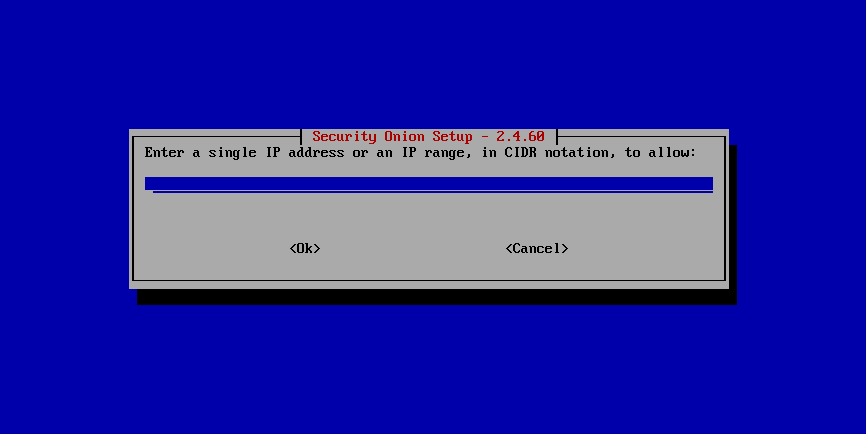
Specify an IP address or range to allow through the host-based firewall:
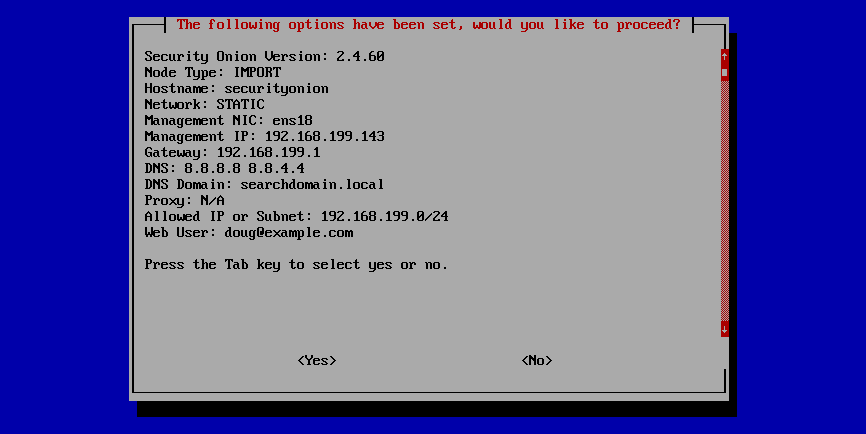
Confirm all options:
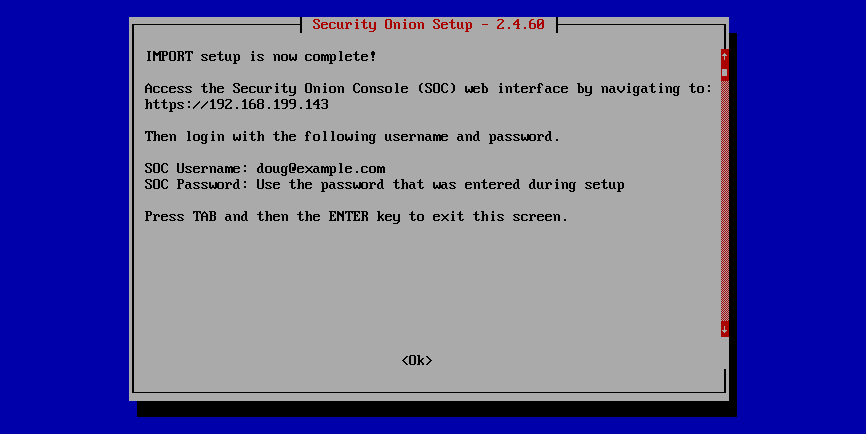
Setup complete:
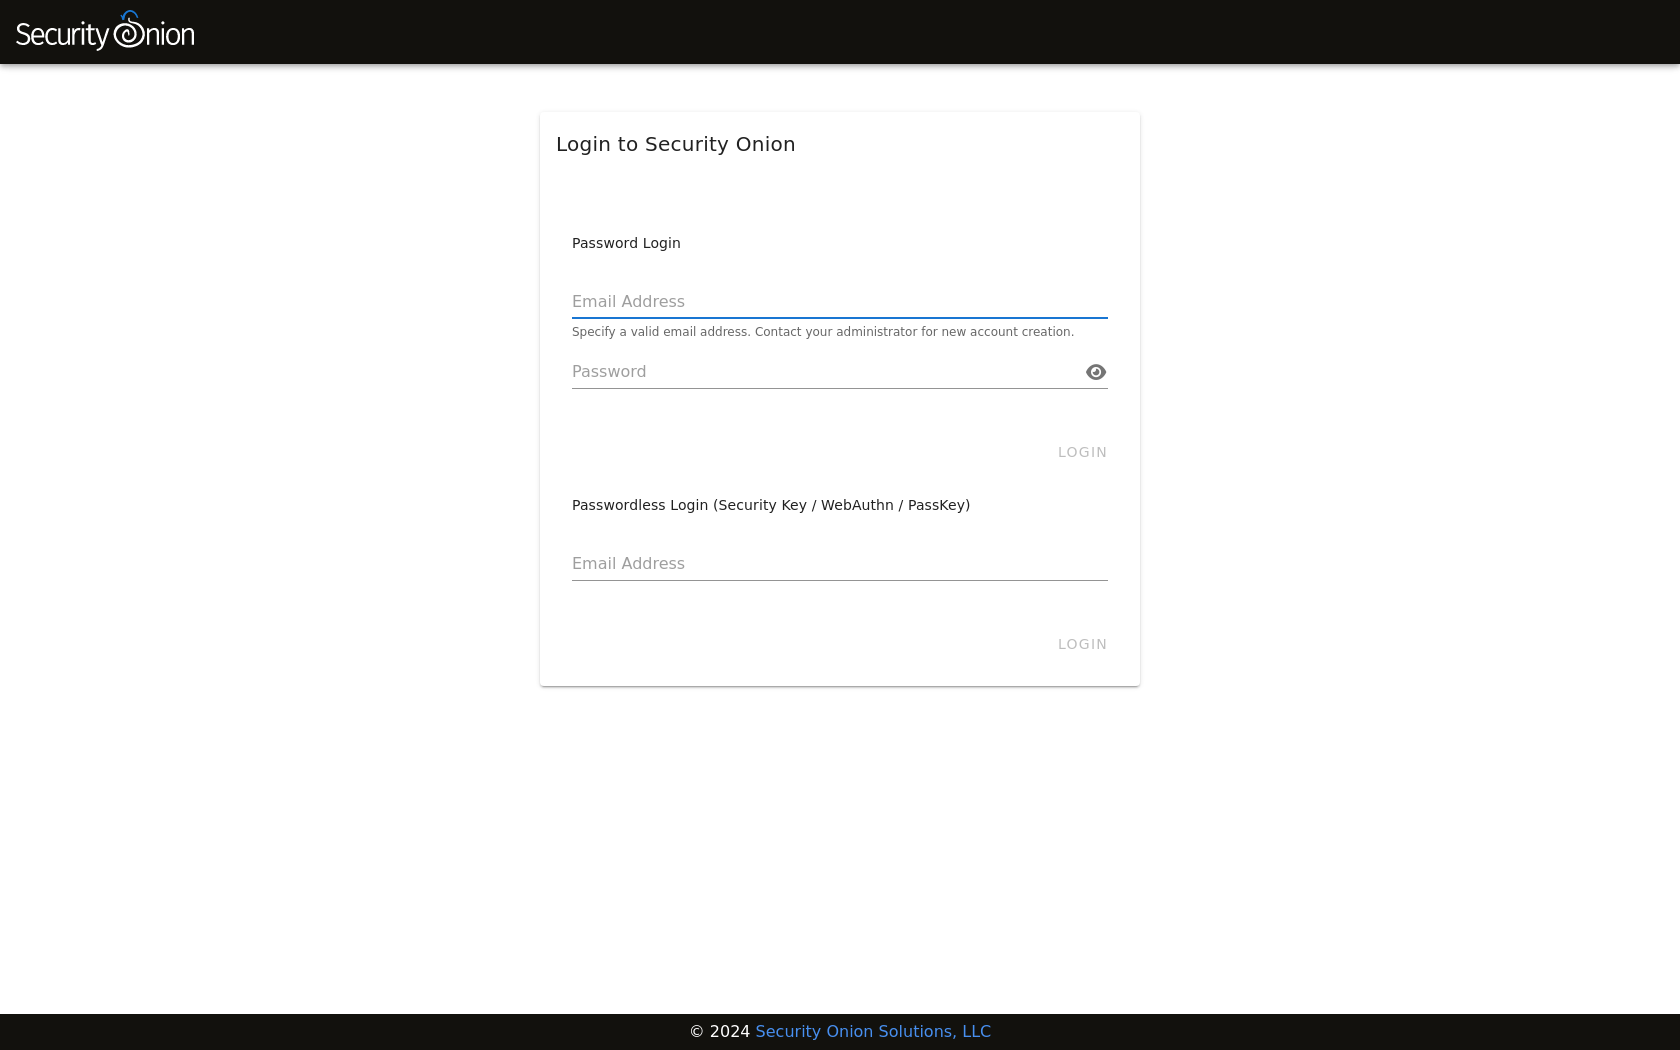
Login to Security Onion Console (SOC):
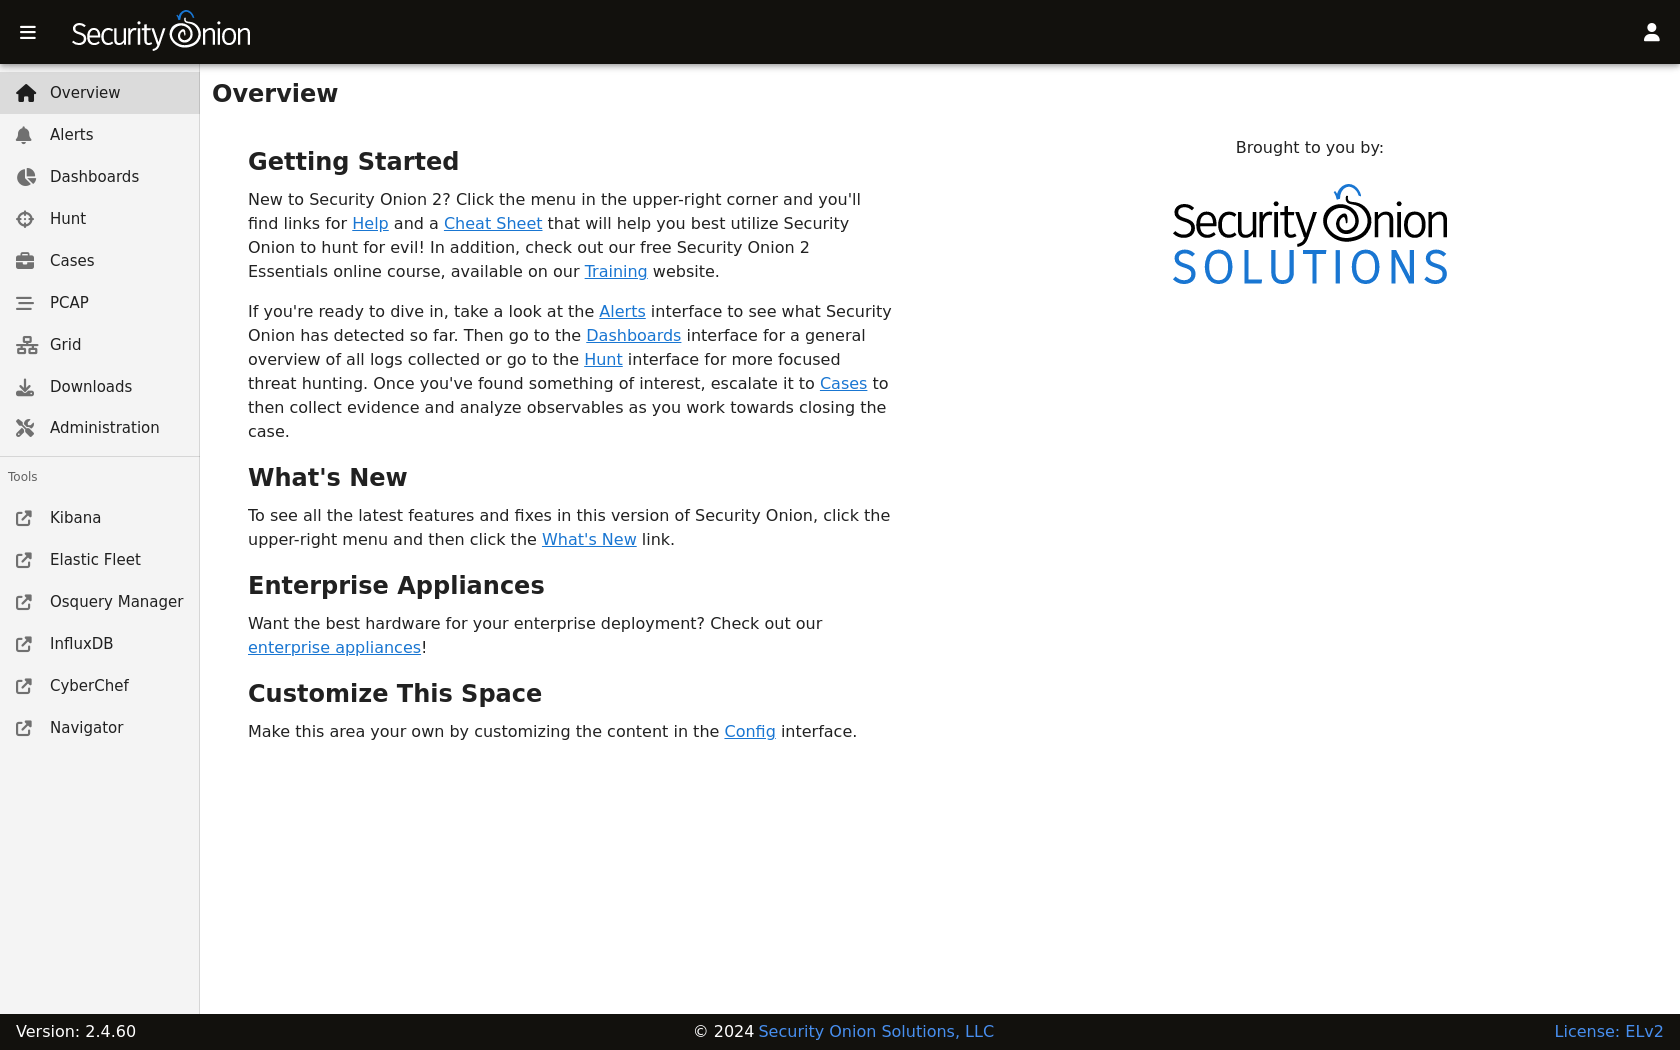
After logging in, you will see the Security Onion Console (SOC) Overview page:
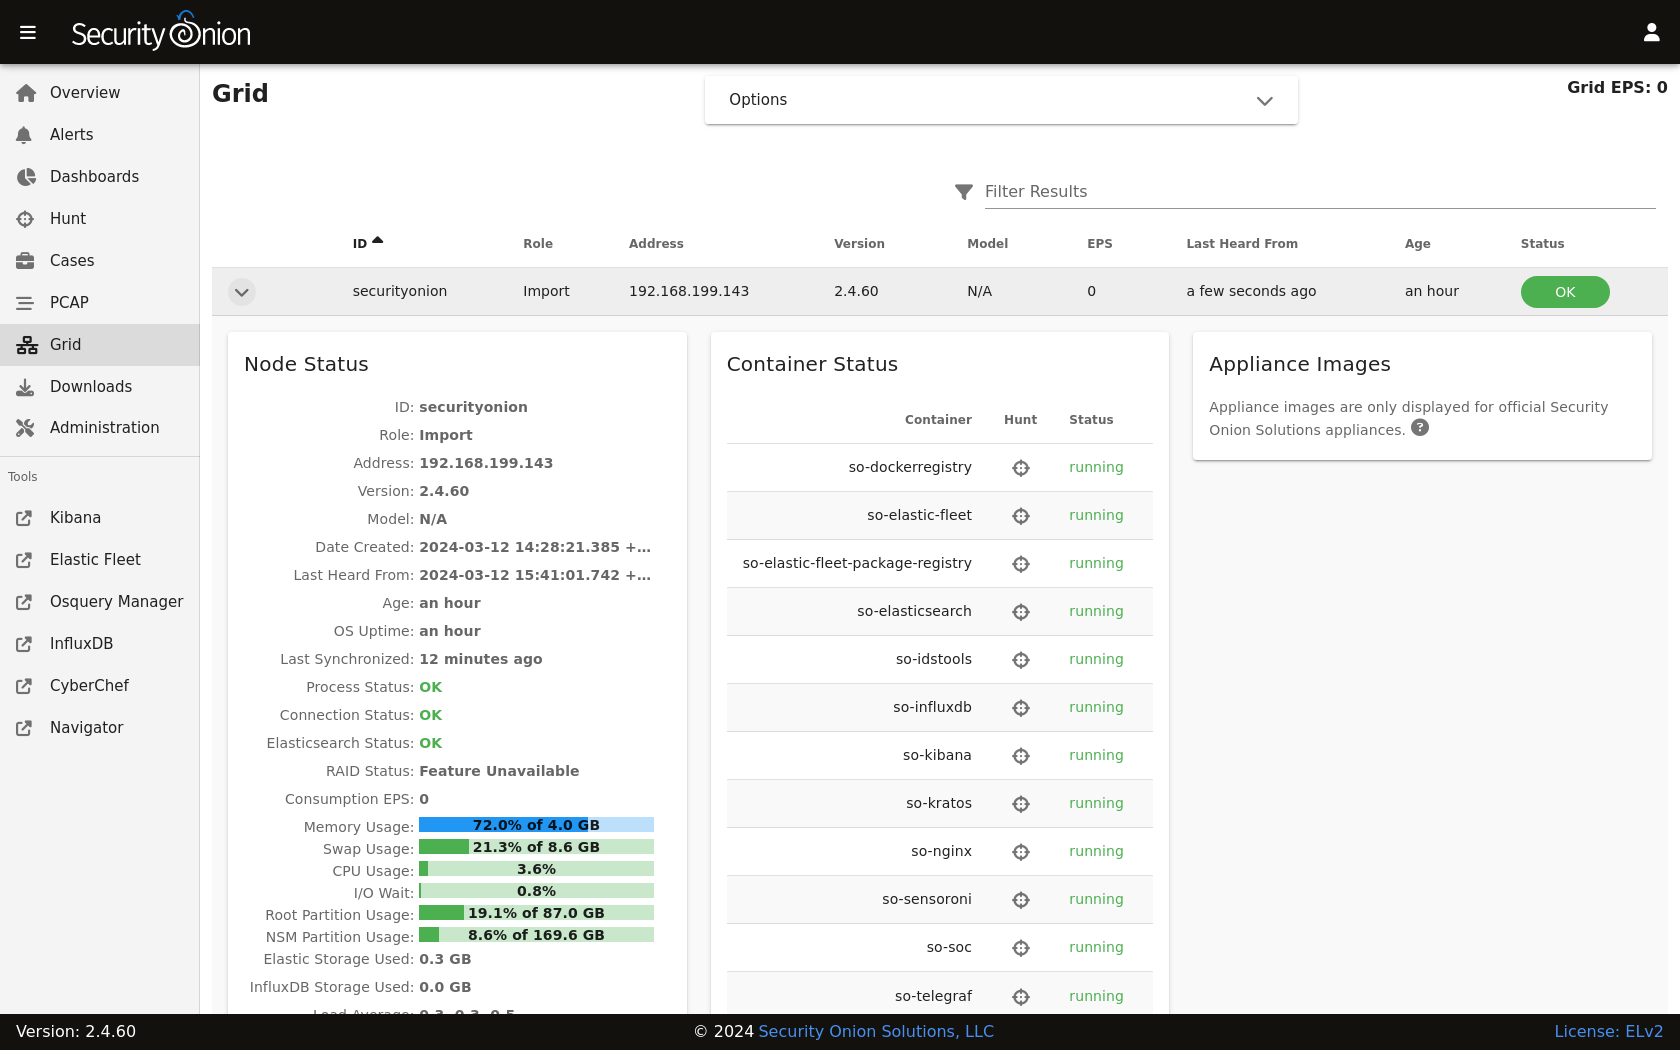
Go to the Grid page, click the button to expand the node, and then verify all services are running properly:
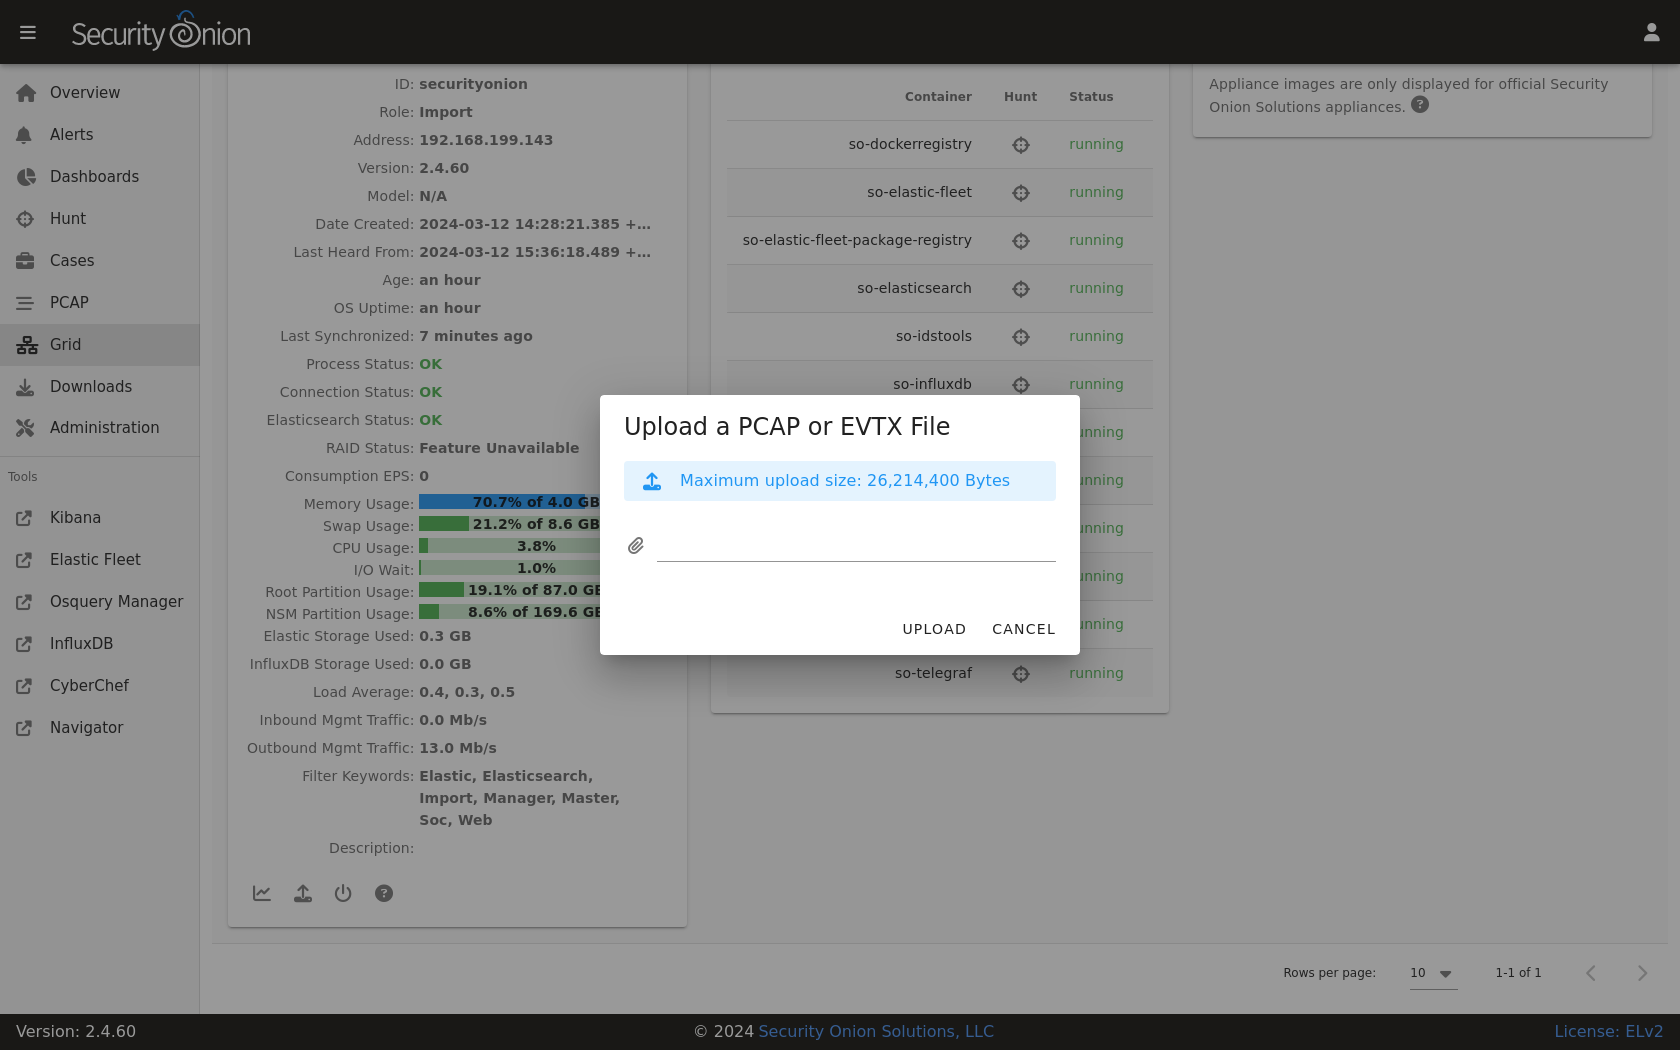
While on the Grid page, you can import a PCAP or EVTX file using the upload button at the bottom of the screen:
Once the import is complete, the Grid page should display a message at the of the page and provide a link to Dashboards to view all alerts and logs from the import:

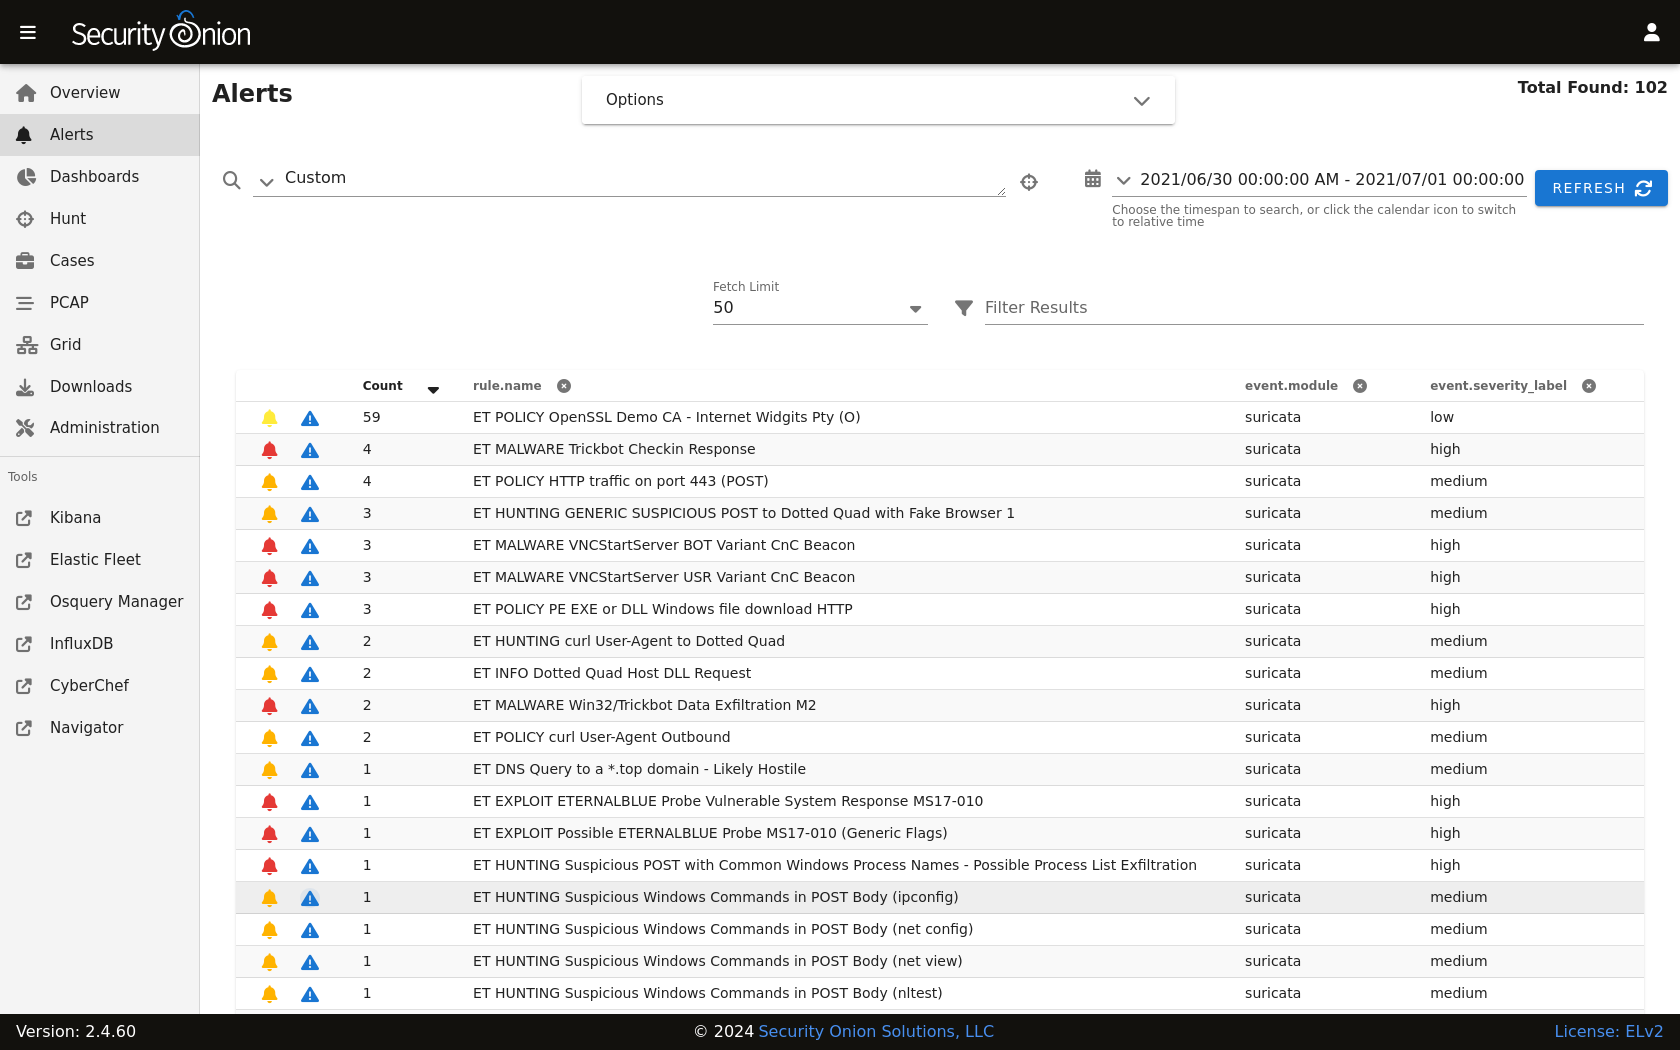
If you want to see just the alerts, you can go to the Alerts page although you may need to manually adjust the time range:
If you find something interesting on the Alerts or Dashboards pages, you may want to use the Correlate or Hunt actions to find related logs on the Hunt page:

If you find interesting network traffic, you can pivot to full packet capture via the PCAP action:

You can change the view to ASCII transcript for a more human readable view of the traffic:

If you need to refer back to previous PCAP jobs, you can find them on the PCAP page:

IMPORT installations do not support remote agents, but if you were running a production installation you could download the Elastic Agent installer from Downloads:

The Administration section allows you to manage user accounts:

It also allows you to manage grid members:

The Administration section also allows you to configure various aspects of the system:

It also allows you to upload a license key for additional enterprise features:

If you made it to the end of this First Time Users section, congratulations! If you have any questions or problems, please see the Help section. If you like Security Onion, please consider sharing on social media about Security Onion to help spread the word. Thanks!